Overview
A quick guide on how to integrate SSW HealthCheck into existing ASP.NET MVC application. For more information please visit www.sswhealthcheck.com.
Integration
Prerequisites
- Visual Studio 2013 (for older versions of Visual Studio, please install NuGet Package installer from http://nuget.codeplex.com/releases)
- Your existing ASP.NET MVC 5 Application
Integration Steps
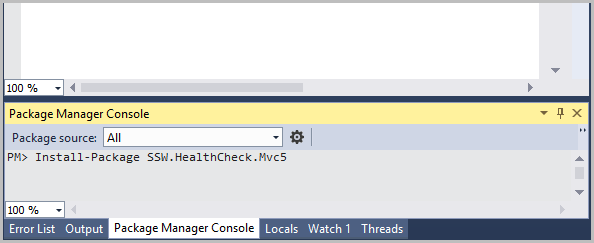
- Go to your Nuget Package Manager Console and typeInstall-Package SSW.HealthCheck.Mvc5
Figure: Installing nugget package
Note: Alternatively you can use Tools | Library Package Manager | Manage NuGet Packages for Solution and follow the prompts.
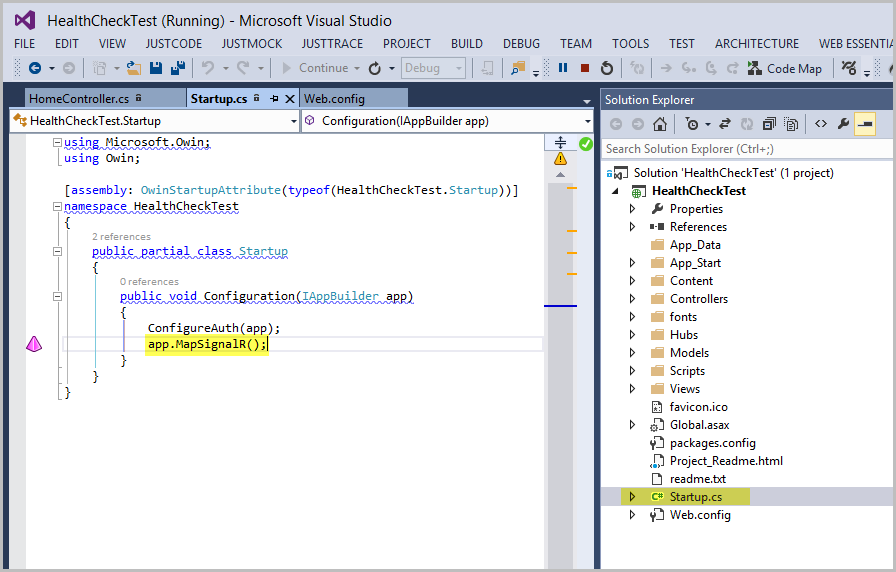
- Your project must have SignalR. Go to Startup.cs file, and make sure SignalR is mapped. If it is not, then map it.
Figure:Add one line of code to add SignalR to your project
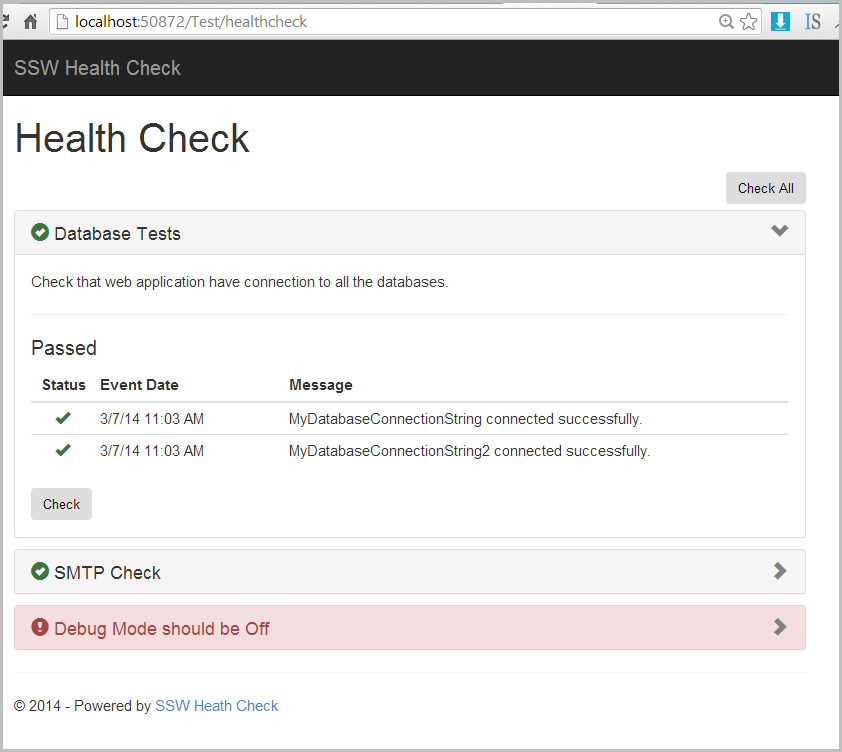
- Integration is completed now. You can run the application by hitting F5 and navigating to /HealthCheck page
Figure: HealthCheck page loaded with 3 tests.
Built-in Tests
All the built in tests are added by default. Remove the built in tests that you don’t need.
To remove existing tests, Go to App_Start folder and remove corresponding test from HealthCheck service:
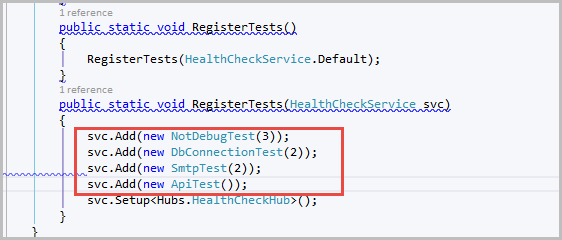
Figure: Remove tests you don’t want to use
Creating Custom Tests
Custom application tests/checks can be added to SSW HealthCheck by simply implementing ITest interface.
Steps
Scenario: We have an existing API that has 3 commands: Ping1, Ping2 and Ping3. We need to write a test which will test accessibility of all those commands.
- Add a new folder to your solution called Test.
- Add new file to this folder called Api.cs. This will be used as a dummy class to mock API.
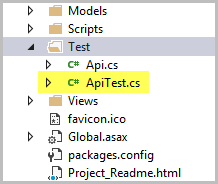
Figure: Api class in your solution
- Paste the following code into your Api.cs class. Note: Ping1, Ping2 will always return true, while Pin3 will randomly return true or false.
- using System.Threading;
- public class Api
- {
- public static bool Ping1()
- {
- Thread.Sleep(500);
- return true;
- }
- public static bool Ping2()
- {
- Thread.Sleep(500);
- return true;
- }
- public static bool Ping3()
- {
- Thread.Sleep(500);
- return (new Random()).Next(0, 2) > 0;
- }
- }
- Add a new file ApiTest.cs to your Test folder. This will represent your test class
Figure: ApiTest file
- In order to create SSW HealthCheck test all you have to do is to implement ITest interface. Paste the following code into your ApiTest.cs file
- using System.Threading;
- using SSW.HealthCheck.Infrastructure;
- public class ApiTest : ITest
- {
- public ApiTest()
- {
- this.Name = “Api Test”;
- this.Description = “Check if api commands are accessible”;
- this.IsDefault = true;
- this.Order = 0;
- }
- public void Test(ITestContext context)
- {
- var testSuccess = true;
- var testPing1 = Api.Ping1();
- context.WriteLine(
- testPing1 ? EventType.Success : EventType.Error,
- “Ping 1 {0}”,
- testPing1 ? “passed” : “failed”);
- testSuccess &= testPing1;
- context.UpdateProgress(0, 1, 3);
- var testPing2 = Api.Ping2();
- context.WriteLine(
- testPing2 ? EventType.Success : EventType.Error,
- “Ping 2 {0}”,
- testPing2 ? “passed” : “failed”);
- testSuccess &= testPing1;
- context.UpdateProgress(0, 2, 3);
- var testPing3 = Api.Ping3();
- context.WriteLine(
- testPing3 ? EventType.Success : EventType.Error,
- “Ping 3 {0}”,
- testPing3 ? “passed” : “failed”);
- testSuccess &= testPing3;
- context.UpdateProgress(0, 3, 3);
- Thread.Sleep(500);
- if (!testSuccess)
- {
- Assert.Fails(“API commands are failing.”);
- }
- }
- public string Name { get; private set; }
- public string Description { get; private set; }
- public bool IsDefault { get; private set; }
- public int Order { get; set; }
- }
Name property – name of your test
Description property – description of your test
IsDefault property – indicates whether test will run automatically when page is loaded or it needs to run on demand by user
Order property – Order in which test will appear in the list of tests.
Test Method – This is where the actual test is performed. In order to fail the test use Assert.Fails(“<your error message>”). To output custom log record use context.WriteLine(). To update progress use context.UpdateProgress().
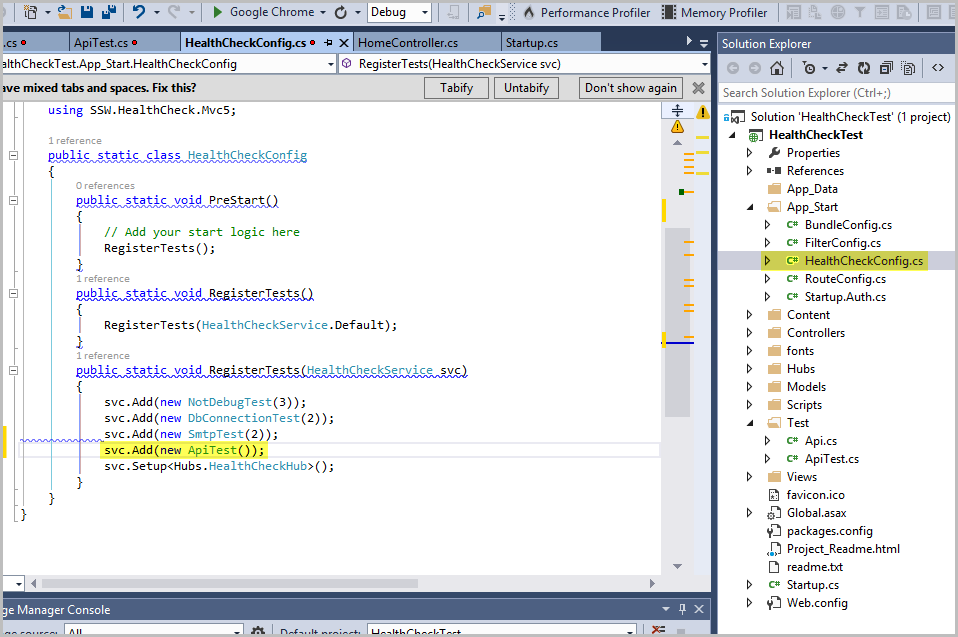
- Once test is implemented, it needs to be registered. Go to App_Start folder and add ApiTest to HealthCheck service:
Figure: Registering your new service
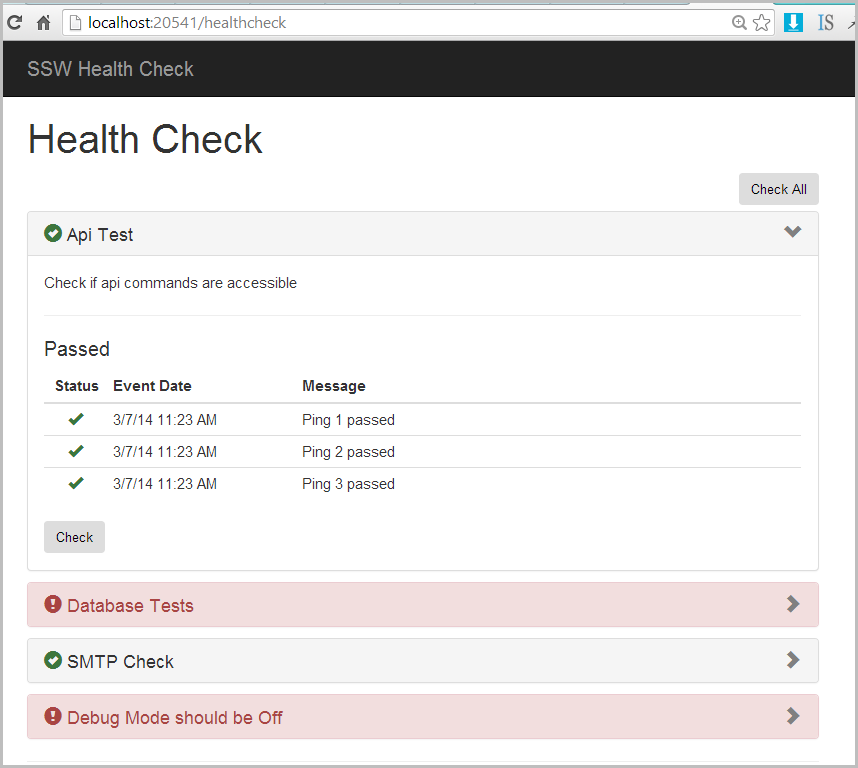
- Run your web application by hitting F5, go to /HealthCheck page and make sure new test is added.
Figure: New API test added to HealthCheck page

One last thing
Add a link to sswhealthcheck.com on your homepage